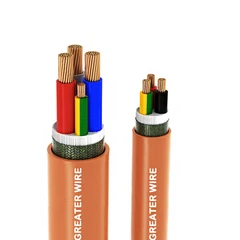


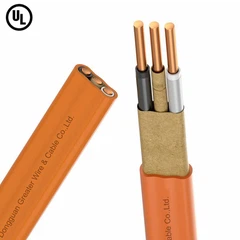
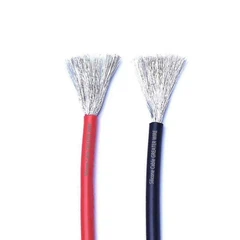
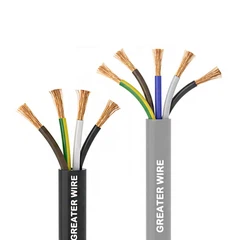
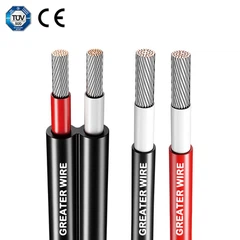

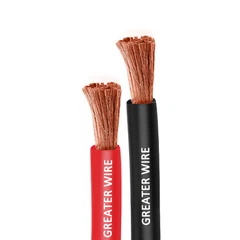
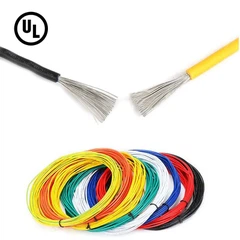
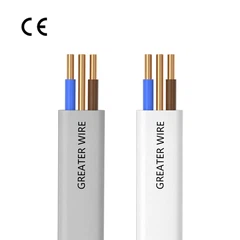

Joining solar cables is essential to ensuring a safe, efficient, and durable solar system. To connect PV cables, you need to prepare solar cables, MC4 connectors, wire strippers, crimping tools, heat shrink tubing (if necessary), electrical tape, and a multimeter (for testing connections). Use wire strippers to strip about 1/4 inch (6-7 mm) of insulation from the end of the cable. MC4 connectors are available in both male and female types. Remove the connector by unscrewing the rear end and insert the stripped end of the cable into the metal crimp of the connector. Make sure the cable is fully seated in the crimp. Use a crimping tool to firmly crimp the metal contacts to the cable. Make sure the crimp is secure and the wire harness is tight. Insert the crimp contacts into the connector housing until they click into place. Tighten the rear end of the connector to secure it. If you are connecting two solar cables, push the male and female MC4 connectors together until they click. Make sure the connection is secure. If using other types of connectors, connect the cables according to the manufacturer's instructions.

If the connection point is exposed to the elements, use heat shrink tubing or electrical tape to provide additional protection from moisture and UV rays. Slide the heat shrink tubing over the connection and use a heat gun to shrink it into place. Once connected, use a multimeter to test the connection and make sure it is connected properly and there are no shorts. This step verifies that the connection is secure and that the cable is properly connected. Once the connection is complete and tested, use cable ties or clamps to secure the cable in place to prevent stress on the connector and keep the installation neat and tidy. Also, labeling the connection helps with future troubleshooting and maintenance.