


Stripping TPS cables (Thermoplastic Sheathed Cables) is an essential skill for electricians and anyone working with electrical installations. Whether you're working with TPS electrical cables in residential, commercial, or industrial settings, knowing how to properly strip the insulation from the wires without damaging the conductors is critical to ensure safety and the integrity of the cable. In this article, we will explore the process of stripping TPS cables, focusing on the proper techniques, tools required, and common mistakes to avoid, particularly when dealing with specialized types like flat TPS cables.


1. What is TPS Cable?
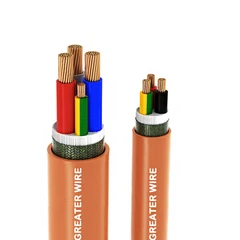
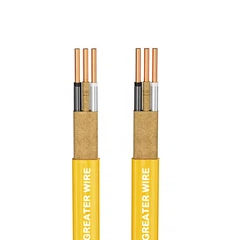
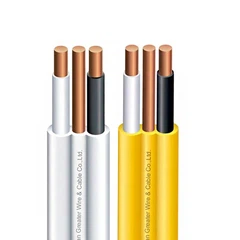
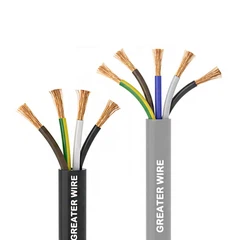
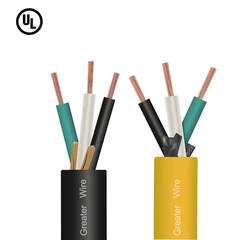
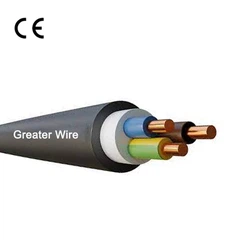
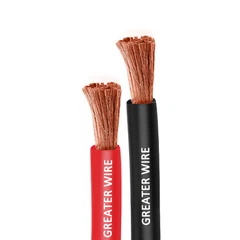
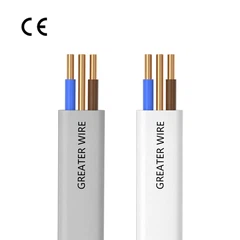
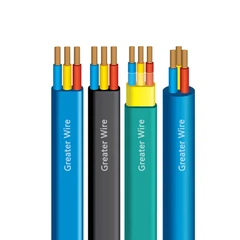
Before diving into the process of stripping a TPS cable, it's important to understand what it is and why it's used. TPS cables are commonly used for low-voltage electrical applications and are designed with a thermoplastic sheath that provides mechanical protection, insulation, and resistance to environmental factors such as heat, moisture, and UV radiation. TPS cables are often color-coded for identification and used in a variety of applications, from home wiring to industrial setups.
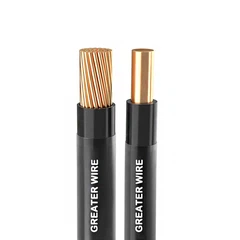
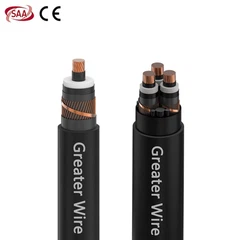
TPS electrical cables typically consist of copper or aluminum conductors, which are insulated individually with PVC or another thermoplastic material, followed by a protective outer sheath. The outer sheath ensures that the cable is durable and resistant to damage, while the internal insulation prevents electrical shorts.
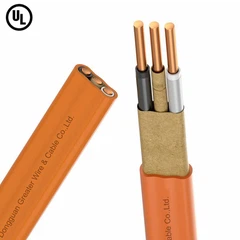
Flat TPS cables, as the name suggests, are flat in shape, making them ideal for applications where space is limited or for installations that require the cables to lie flat against surfaces. They are typically used in installations where flexibility, durability, and space-saving are necessary.

2. Tools Required to Strip TPS Cable
To properly strip a TPS electrical cable, you need the right tools. Using improper tools or techniques can result in damaging the wire, which could lead to unsafe installations and potential failures. Below are the essential tools you'll need for stripping TPS cables:
2.1 Cable Strippers
A cable stripper is the most important tool for stripping the insulation from TPS cables. It is specifically designed to remove the outer sheath and inner insulation layers without damaging the conductor wires. Cable strippers come in various sizes and designs, with adjustable cutting settings for different types of cables.
2.2 Utility Knife or Insulation Cutter
If you don't have a cable stripper, a utility knife or insulation cutter can be used to carefully score the insulation. However, this requires more precision and care, as using a knife improperly can easily nick the conductor or damage the cable.
2.3 Measuring Tape or Ruler
Accurate measurements are crucial when stripping TPS cables. A measuring tape or ruler ensures that you strip the right amount of insulation, not too much or too little. This is important to maintain the cable's safety and functionality.
2.4 Cutting Pliers
After stripping the cable, you may need cutting pliers to trim the wire or clean up the edges for a neater finish. Pliers are also useful for cutting the cable to the required length.
2.5 Wire Brush or Sandpaper
Once the insulation is stripped, use a wire brush or fine sandpaper to clean the exposed conductor if needed. This ensures a clean surface for connections and prevents oxidation or damage.

3. Step-by-Step Guide to Stripping TPS Cable
The process of stripping TPS cables is relatively straightforward, but it requires careful attention to avoid damaging the internal conductors or the cable's outer sheath. Below is a step-by-step guide to help you through the process.
3.1 Step 1: Measure and Mark the Cable
Before beginning the stripping process, you need to measure how much of the cable needs to be stripped. Typically, a length of about 2-3 inches of insulation is sufficient for most electrical connections, but this may vary depending on the application.
Measure the required length using a measuring tape or ruler.
Mark the area where you intend to strip the insulation, ensuring you don't strip too much or too little. This ensures that the exposed wires will be the correct length for the connection.
3.2 Step 2: Choose the Right Cable Stripper
Using a cable stripper is the easiest and safest way to remove insulation from TPS cables. Cable strippers are specifically designed to strip wires without damaging the conductors. Choose a stripper that's suited for the diameter of your TPS electrical cable.
Set the stripper to the correct gauge for the cable you are working with.
Place the TPS cable into the stripper and align it with the jaws.
3.3 Step 3: Strip the Outer Sheath
The first layer of insulation you need to remove is the outer thermoplastic sheath. This is a protective layer that surrounds the inner conductors.
With the stripper, gently score the outer sheath along the length of the marked area.
Be careful not to apply too much pressure, as this could damage the inner insulation or the conductors.
Once you've scored the sheath, pull it back gently to expose the inner insulation.
3.4 Step 4: Strip the Inner Insulation
After removing the outer sheath, you will find individual conductors, each wrapped in an insulating layer. For TPS cables, the inner insulation is typically PVC, which is easy to strip using a cable stripper.
Position the cable stripper over the inner insulation of the individual conductors.
Score the inner insulation with the stripper, again being cautious not to cut into the wire itself.
Gently pull the insulation back, exposing the copper or aluminum conductor.
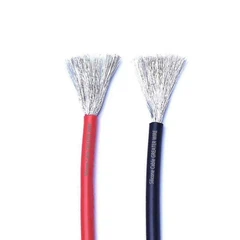
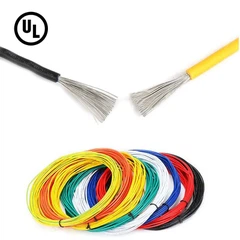
3.5 Step 5: Inspect the Stripped Cable
Once you've stripped the TPS cable, inspect the conductors to make sure they are not damaged. The conductor should be clean, free from nicks or cuts, and should not have any exposed copper or aluminum that could lead to a short circuit.
Check the length of the exposed wire to ensure it matches your original measurement.
If necessary, use a wire brush or sandpaper to clean off any rough edges or oxidation from the conductor.
3.6 Step 6: Trim the Wire
If the conductor is too long or if there is any excess insulation, use cutting pliers to trim the conductor and make the ends clean and neat.
Trim the wire to the desired length while ensuring the end is flat and even.
This will help ensure a secure and stable connection when attaching the wire to terminals, junction boxes, or other electrical components.

4. Common Mistakes to Avoid When Stripping TPS Cables
While stripping TPS electrical cables seems simple, there are common mistakes that electricians and DIYers often make. Being aware of these mistakes can help you avoid damage to the cable and ensure the safety of your installation.
4.1 Using the Wrong Tools
Using improper tools, such as scissors, knives, or regular pliers, can damage the cable and cause the insulation to fray or the conductors to break. Always use cable strippers designed for the task.
4.2 Applying Too Much Pressure
Applying too much pressure when stripping the cable can result in cutting into the conductor or damaging the insulation. Always use a gentle hand and let the tool do the work.
4.3 Stripping Too Much Insulation
Stripping too much insulation from the wire can leave the conductor exposed, which can lead to short circuits or unsafe connections. Only strip as much insulation as is necessary for the connection.
4.4 Not Cleaning the Wire
After stripping, it's important to clean the exposed conductor to remove any dirt, oxidation, or sharp edges. Not doing so can affect the connection's reliability and cause corrosion over time.
4.5 Not Checking the Cable Before Installing
Always inspect the cable before making connections. Even a small nick in the conductor or insulation can lead to short circuits, electrical failures, or safety hazards.