


The proper installation of solar cables is a crucial aspect of any solar energy system, as it directly impacts the system's efficiency, longevity, and safety. Solar cables, commonly referred to as solar wires, connect various components of a photovoltaic (PV) system, including solar panels, inverters, charge controllers, and batteries. The method used to lay these cables plays a significant role in preventing mechanical damage, minimizing energy loss, and ensuring safety throughout the lifespan of the system.
In this article, we will explore the various laying methods for solar cables, highlighting the key considerations, benefits, and best practices for each method to ensure optimal performance in both residential and commercial solar power installations.

1. Types of Solar Cables and Their Applications
Before discussing the laying methods, it is essential to understand the types of solar cables commonly used in PV systems:
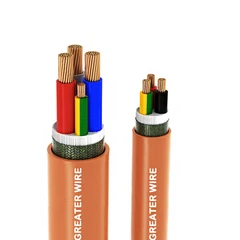
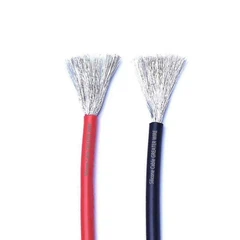
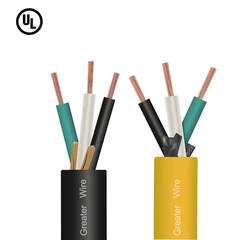
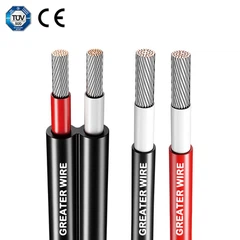
DC Solar Cables: These are used to connect the solar panels (which produce direct current) to the inverter. These cables typically use tinned copper or copper conductors and are insulated with XLPE (cross-linked polyethylene) or EPR (ethylene propylene rubber). They are specifically designed for outdoor use and are highly resistant to UV radiation, temperature fluctuations, and mechanical stress.
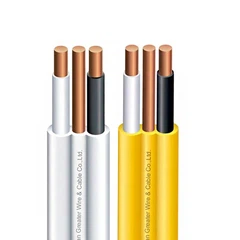
AC Solar Cables: Once the DC electricity generated by the solar panels is converted into alternating current by the inverter, AC cables are used to connect the inverter to the electrical grid or storage systems. These cables often come with higher insulation ratings to handle the alternating current.
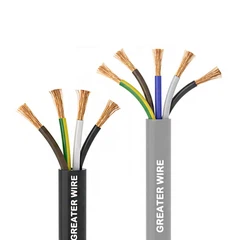
Solar Extension Cables: These cables are used for extending the reach between the solar panels and other components in the system. They should also be rated for outdoor conditions, with sufficient current-carrying capacity and durability.
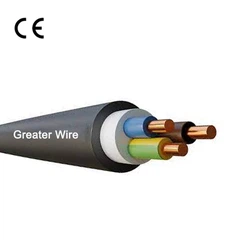
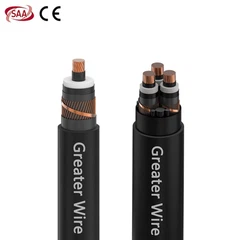
Underground Solar Cables: For installations where cables need to be buried underground, direct-burial cables are often used. These cables are specially designed with robust sheaths to resist moisture, corrosion, and physical damage.

2. Methods of Laying Solar Cables
The method of laying solar cables depends on various factors, including the environment, the type of installation (residential or commercial), and the intended longevity of the system. Below are the most common methods used for laying solar cables:
2.1 Overhead Cable Installation
Overhead installation of solar cables is a common method used in areas where it is impractical or unnecessary to bury cables. This method is often employed in large-scale solar farms or installations where cables need to span a long distance between components.
Installation Procedure:
Cable Supports: Cables are laid over sturdy supports, such as poles or mounting brackets, ensuring that they are elevated and not prone to physical damage from external factors.
Cable Clips: Use cable clips or straps to secure the cables to the supports, ensuring that they remain taut but not over-stretched.
Spacing: Maintain the proper distance between cables and supports to avoid sagging and ensure that cables are not exposed to excessive tension.
Clearance: Ensure adequate clearance from the ground or any nearby obstacles to prevent damage from falling debris or accidental contact.
Advantages:
Easier access for maintenance and troubleshooting.
Reduced risk of damage from flooding or underground issues (as compared to buried cables).
Can be installed over longer distances with minimal disruption to the surrounding environment.
Disadvantages:
Aesthetic concerns, especially in residential areas.
Exposure to physical damage from storms, falling branches, or wildlife.
Greater risk of UV degradation due to prolonged exposure to the sun.
2.2 Underground Cable Installation
Underground cable laying is one of the most secure methods for protecting solar cables from external environmental factors, including weather, mechanical damage, and UV degradation. It is commonly used in residential solar power installations or in solar farms where aesthetics are important.
Installation Procedure:
Trenching: Begin by digging a trench deep enough to accommodate the solar cables, ensuring that they are well-protected from external damage. Typically, trenches should be around 18 to 24 inches deep, depending on local regulations.
Cable Conduit: Use a protective conduit (usually made of PVC, HDPE, or other durable materials) to house the cables. This adds an additional layer of protection against moisture, rodents, and other environmental factors.
Bedding: Place a layer of sand at the bottom of the trench to provide a smooth surface for the conduit. This helps prevent abrasion of the cables.
Backfilling: Once the cables are laid inside the conduit, backfill the trench with soil. Be sure to cover the trench properly to avoid any future damage.
Warning Tape: Place a warning tape above the cables to signal the presence of buried cables in case future excavation work is required.
Advantages:
Provides protection from environmental elements such as UV radiation, rain, and wind.
Reduced aesthetic impact, as cables are hidden underground.
Lower risk of physical damage from external forces.
Disadvantages:
More expensive due to labor and material costs.
Potential difficulty in performing maintenance or repairs if the cables become damaged or need replacing.
Requires accurate installation to avoid issues such as water ingress or rodent damage.
2.3 Cable Laying Using Cable Trays
In large commercial or industrial solar installations, cable trays are often used to organize and support the solar cables. Cable trays are metal or plastic pathways that allow cables to be routed securely and systematically through the system.
Installation Procedure:
Tray Mounting: Mount the cable trays along the structure of the solar array or along building walls using appropriate supports.
Cable Routing: Lay the solar cables inside the tray, ensuring that the cables are not subjected to excessive bends or stress.
Cable Securing: Use cable ties or clips to secure the cables within the tray, ensuring that the cables are held firmly but not over-compressed.
Spacing: Ensure that the trays allow for sufficient airflow around the cables, reducing the risk of overheating.
Advantages:
Easy to install and modify, especially for large-scale installations.
Provides clear cable organization, making it easier to troubleshoot or upgrade the system.
Enhanced protection for cables from mechanical damage.
Disadvantages:
Not ideal for installations where aesthetics are a concern.
Requires sufficient space for the trays to be installed.
2.4 Cable Laying Along Roofs or Facades
For residential solar installations, cables are often laid along the roof or facade of buildings. This is a cost-effective and efficient method, especially when the solar panels are mounted on the roof and the cables need to be routed to an inverter inside the building.
Installation Procedure:
Cable Routing: Route the cables along the roof or facade, making sure to follow the shortest and most efficient path to the inverter.
Cable Clips: Secure the cables to the roof using weatherproof cable clips or cable conduits that protect the wires from physical damage and UV exposure.
Conduit Protection: Use conduit or other protective coverings to shield the cables from potential damage from falling debris or weather.
Sealing: Seal any holes or penetrations through the roof or walls to prevent water ingress.
Advantages:
Cost-effective and straightforward for residential solar installations.
Minimal disruption to the building's structure.
Easier to perform maintenance or repairs.
Disadvantages:
Exposure to UV rays and weathering, potentially leading to wear and tear over time.
Aesthetic concerns in residential areas.
2.5 Cable Laying in PV Junction Boxes
In solar power systems, junction boxes play a crucial role in organizing and connecting multiple solar cables from the panels to the inverter. These boxes are especially useful in larger systems or when cables need to be grouped and managed.
Installation Procedure:
Junction Box Placement: Place the junction box in an accessible location close to the solar panels, where the cables can be easily connected.
Cable Entry: Feed the solar cables into the junction box through pre-installed holes or cable glands. Secure the cables in place using cable ties or clips.
Connection and Sealing: Properly connect the cables to the terminals in the junction box and ensure the box is sealed to prevent moisture ingress.
Advantages:
Helps organize and protect the cables, reducing clutter.
Provides a central location for connections and troubleshooting.
Disadvantages:
May require additional space and careful placement to ensure accessibility.

3. Key Considerations When Laying Solar Cables
Regardless of the method chosen, there are several key factors to consider during the installation of solar cables:
Minimize Voltage Drop: Ensure that cables are sized appropriately to handle the current load without excessive voltage drop, which can reduce system efficiency.
Avoid Sharp Bends: Always follow the minimum bend radius for the cables to avoid damaging the insulation or conductor.
Cable Protection: Use protective covers, conduits, or trays to shield cables from physical damage, weather, and environmental factors like UV exposure.
Future Accessibility: Ensure that the cable routes and junctions are accessible for maintenance and upgrades.