


1, Preparation work
Before installing the photovoltaic inverter, it is necessary to inspect the electrical equipment to ensure that it meets the installation conditions. For the installation of solar cable for photovoltaic inverters, the following tools need to be prepared:
(1) Electrical tools: pliers, wrenches, wire strippers, insulation knives, etc.
(2) Photovoltaic inverters and their solar panel cable equipment.
(3) Installation materials: junction box, cable protection tube, terminal block, solar panel wire, battery cable, etc.
2, Solar Earth Cable
(1) For the selection of solar earth cable, it is necessary to take inventory of the grounding conditions provided on site. In general, the grounding potential of the inverter is designed to be 0V, and the optimal grounding resistance is less than 4 Ω.
(2) Connect the solar earth cable to the grounding screw on the bottom cabinet of the inverter while keeping the inverter switch disconnected, and lead it out through the cable protection tube.
(3)Lead the grounding wire to the grounding potential point, connect the grounding terminal to the grounding rod, and fix the grounding wire.
3, DC side
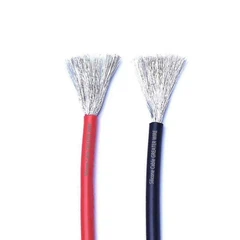
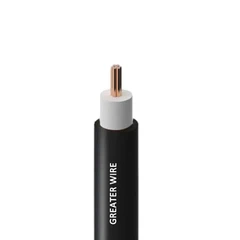
(1) Use an insulating knife to peel off the protective tube of the solar cable, and then pull out the insulation layer of the solar power cable by 5-10 cm.
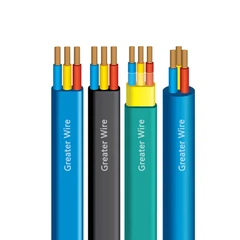
(2) Use wire stripping pliers to peel off the insulation layer of the solar cable, select the terminal size according to the photovoltaic cable size, and crimp it. The sizes of solar DC cables commonly used in inverters are: 4mm solar cable, 6mm solar cable, and 10mm2 solar cable
(3) Connect the solar panel cables to the cable protection tube, connect the male and female ends of the solar cable separately, and then fix the wiring terminals.
(4) Install the DC breaker at the output terminal of the inverter's DC input and tighten it.
4, Communication side
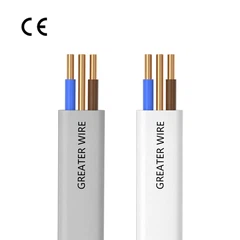
(1) Before installing the solar system wire, check the voltage and power on the AC side, and then select the solar energy cables and connectors according to the rated voltage and frequency of the equipment.
(2) Use an insulating knife to peel off the cable protection tube, and then pull out the insulation layer of the solar cable DC by 5-10 cm.
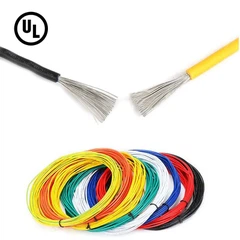
(3) Use wire stripping pliers to peel off the insulation layer of the solar copper wire, connect the conductors of the solar MC cable to the wiring terminals of the AC side interface, and fix them with screws.
(4) After the installation of the solar cable is completed, use electrical insulation paper tape to wrap the PV wire, and then securely fix it.
5, Summary
The installation of a solar cable inverter is a relatively complex process, and before installation, it is necessary to carefully read the product manual and correctly select and use the corresponding installation tools and materials. Through the introduction of installation and wiring steps, I believe everyone has understood the wiring methods and precautions of photovoltaic inverters, and I hope it can be helpful for your practical application in work.
